FREE SHIPPING FOR ORDERS OVER $2500 – DISCOUNTS ARE IN BLOOM! 30% OFF ALL CLOSETS!
DISCOUNTS ARE IN BLOOM! 30% OFF ALL CLOSETS!
Ciri Blog
Quick Assembly Tips for Pi Closets: Create Lasting Impact
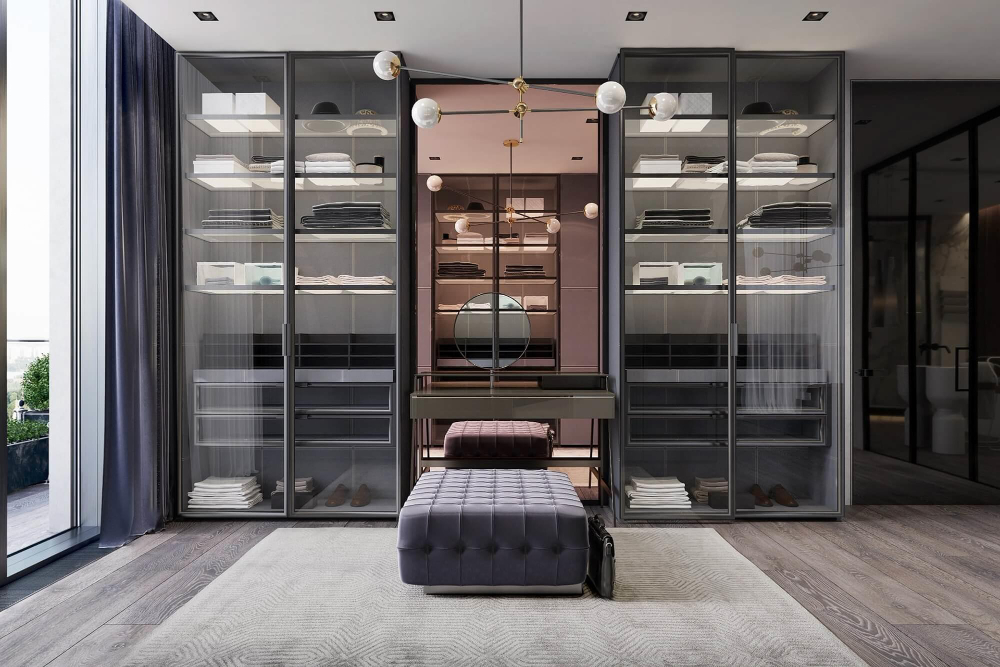
Understanding the Components of Pi Closets
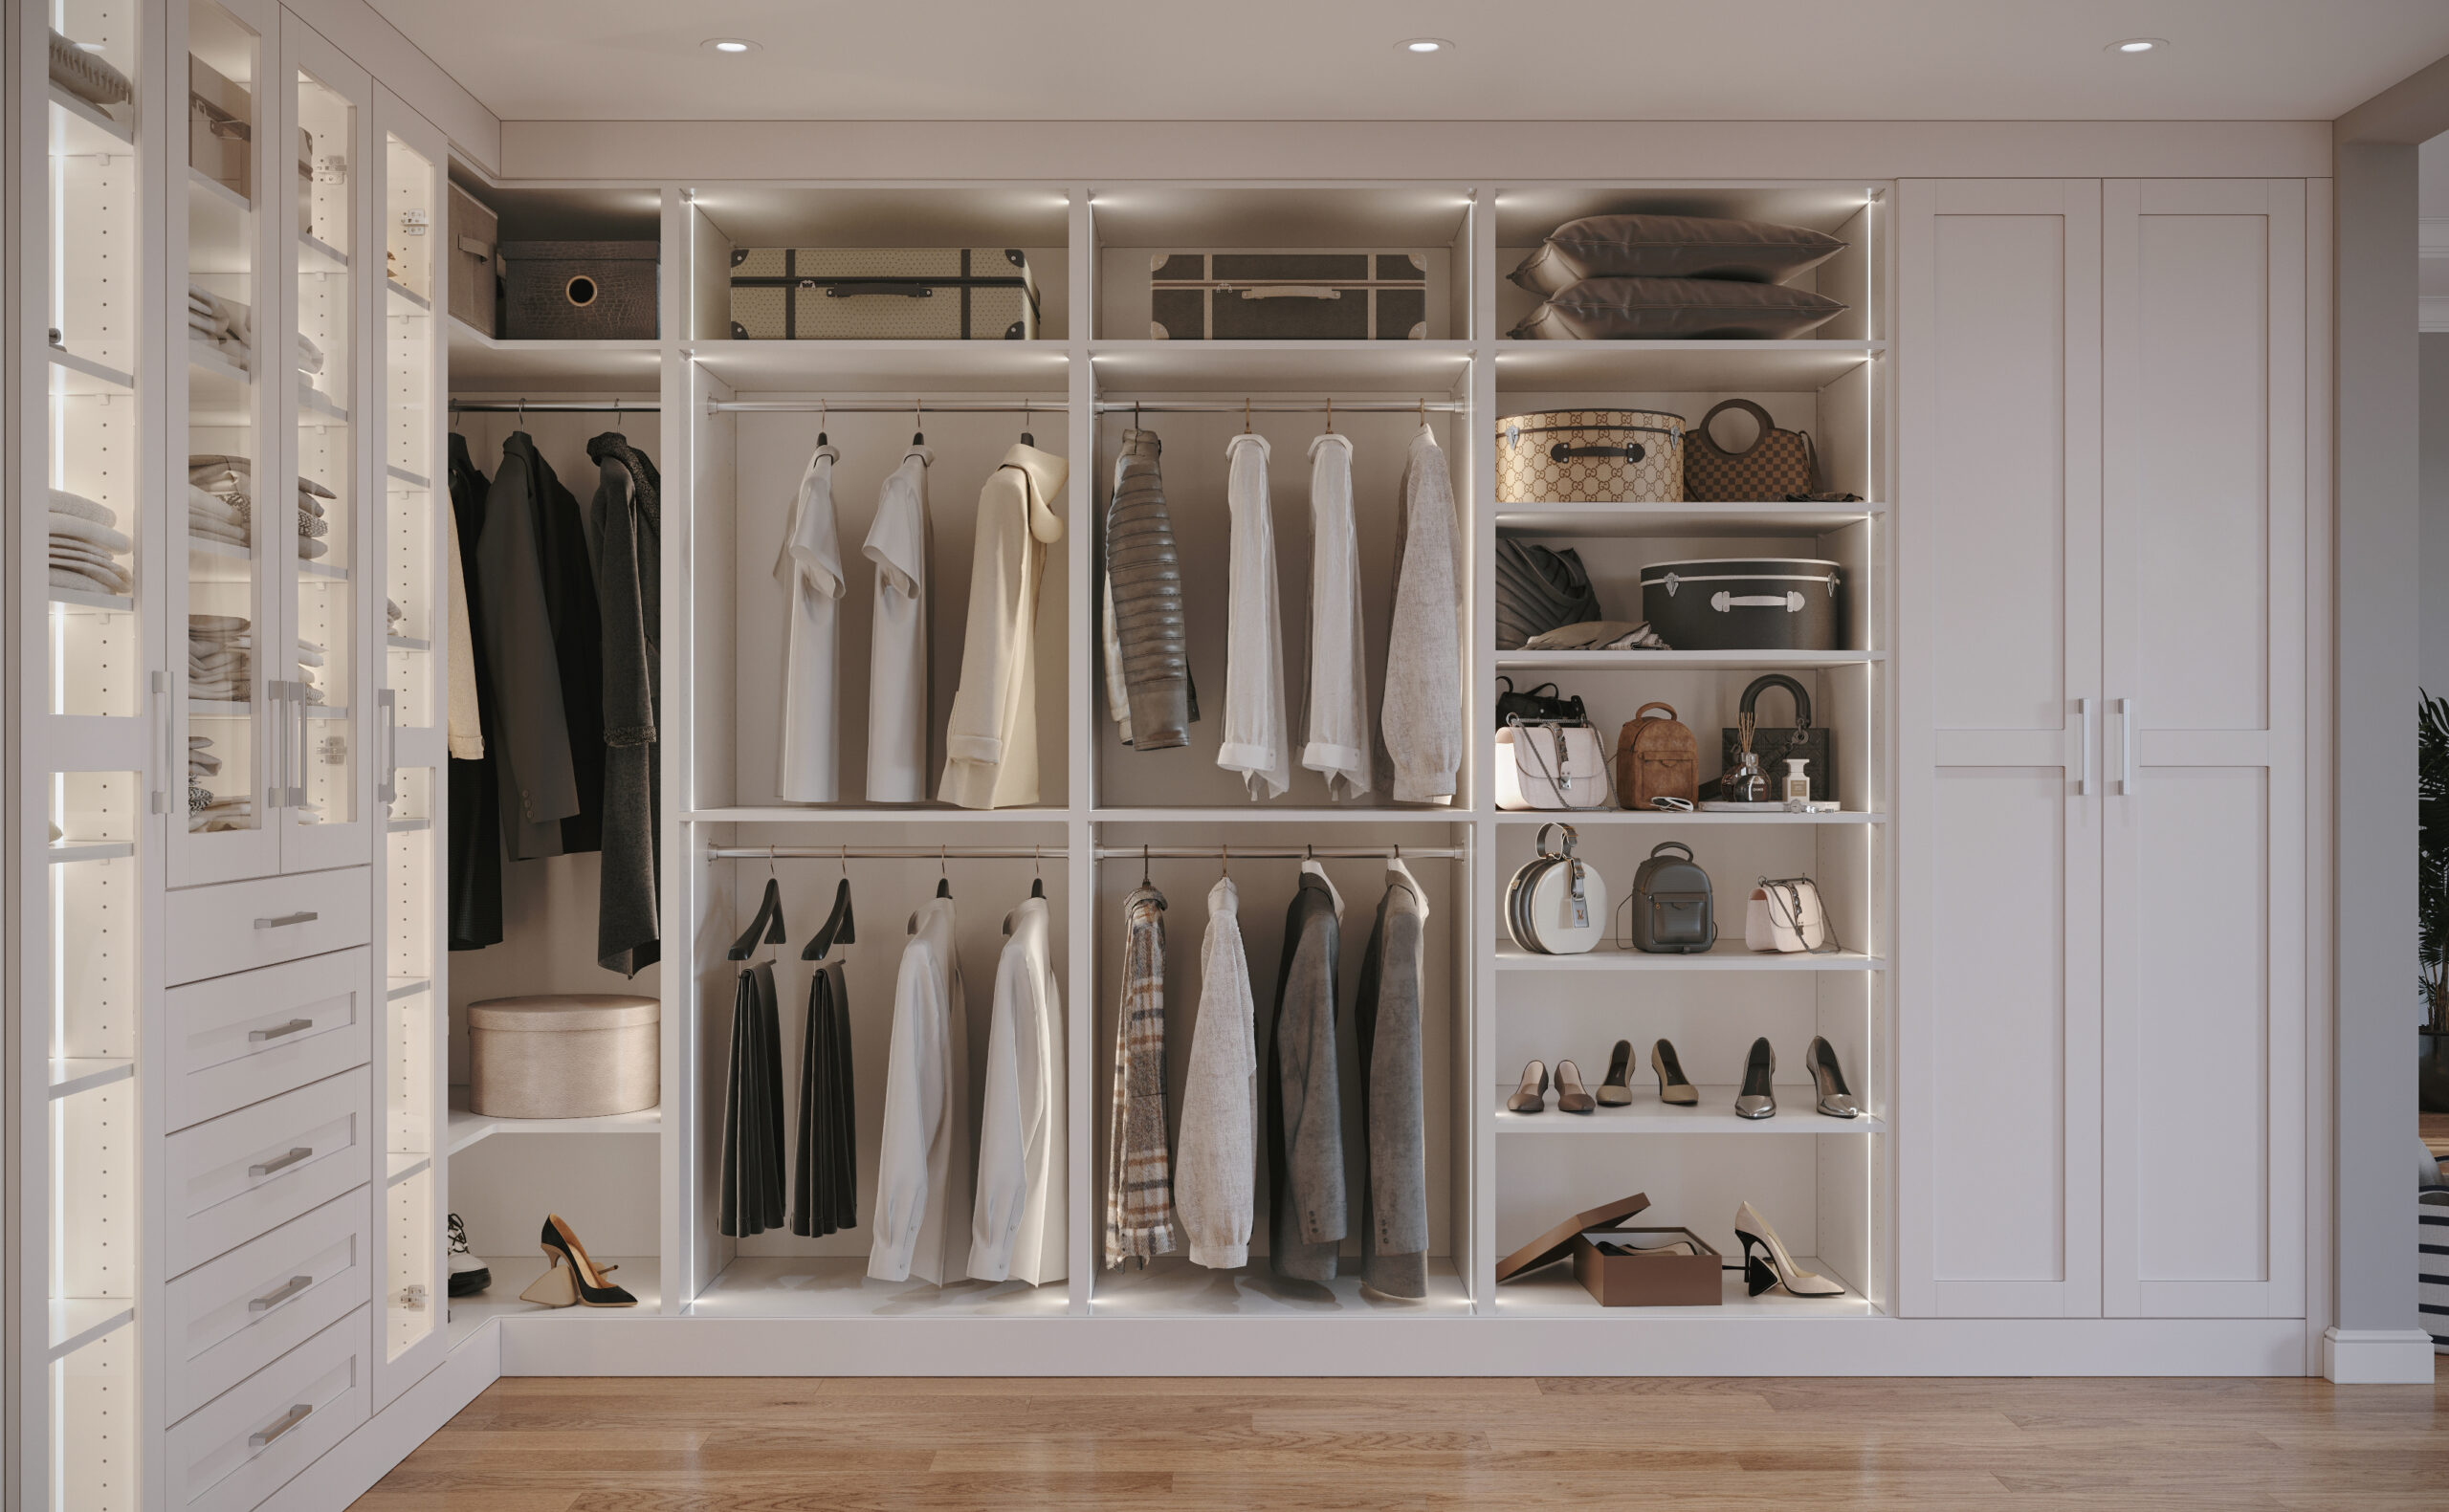
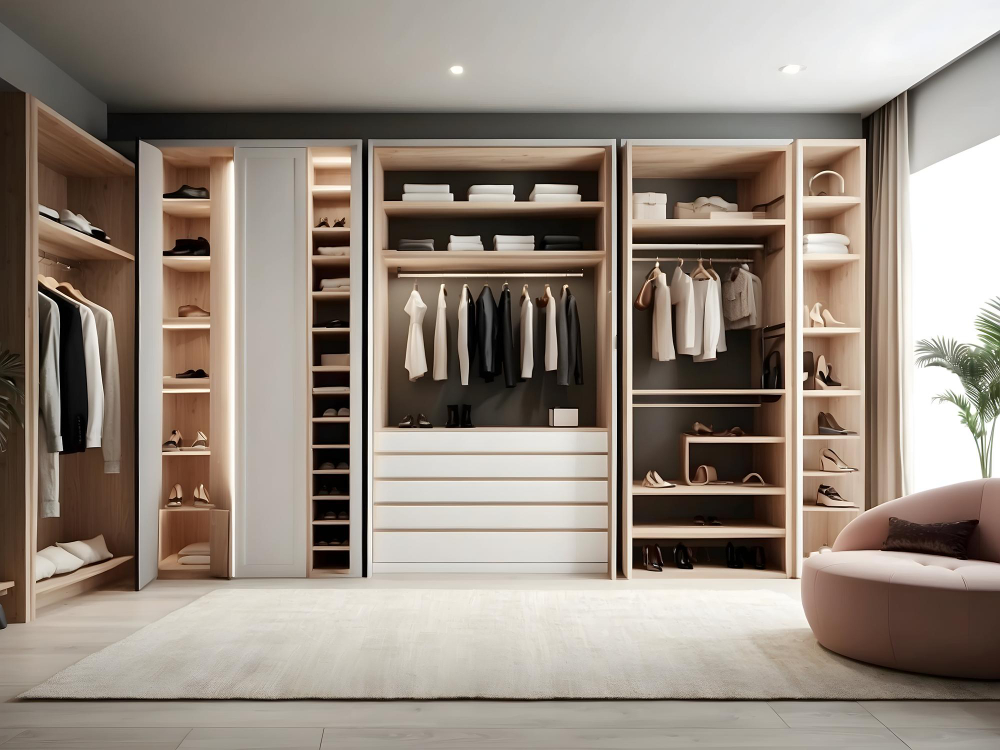
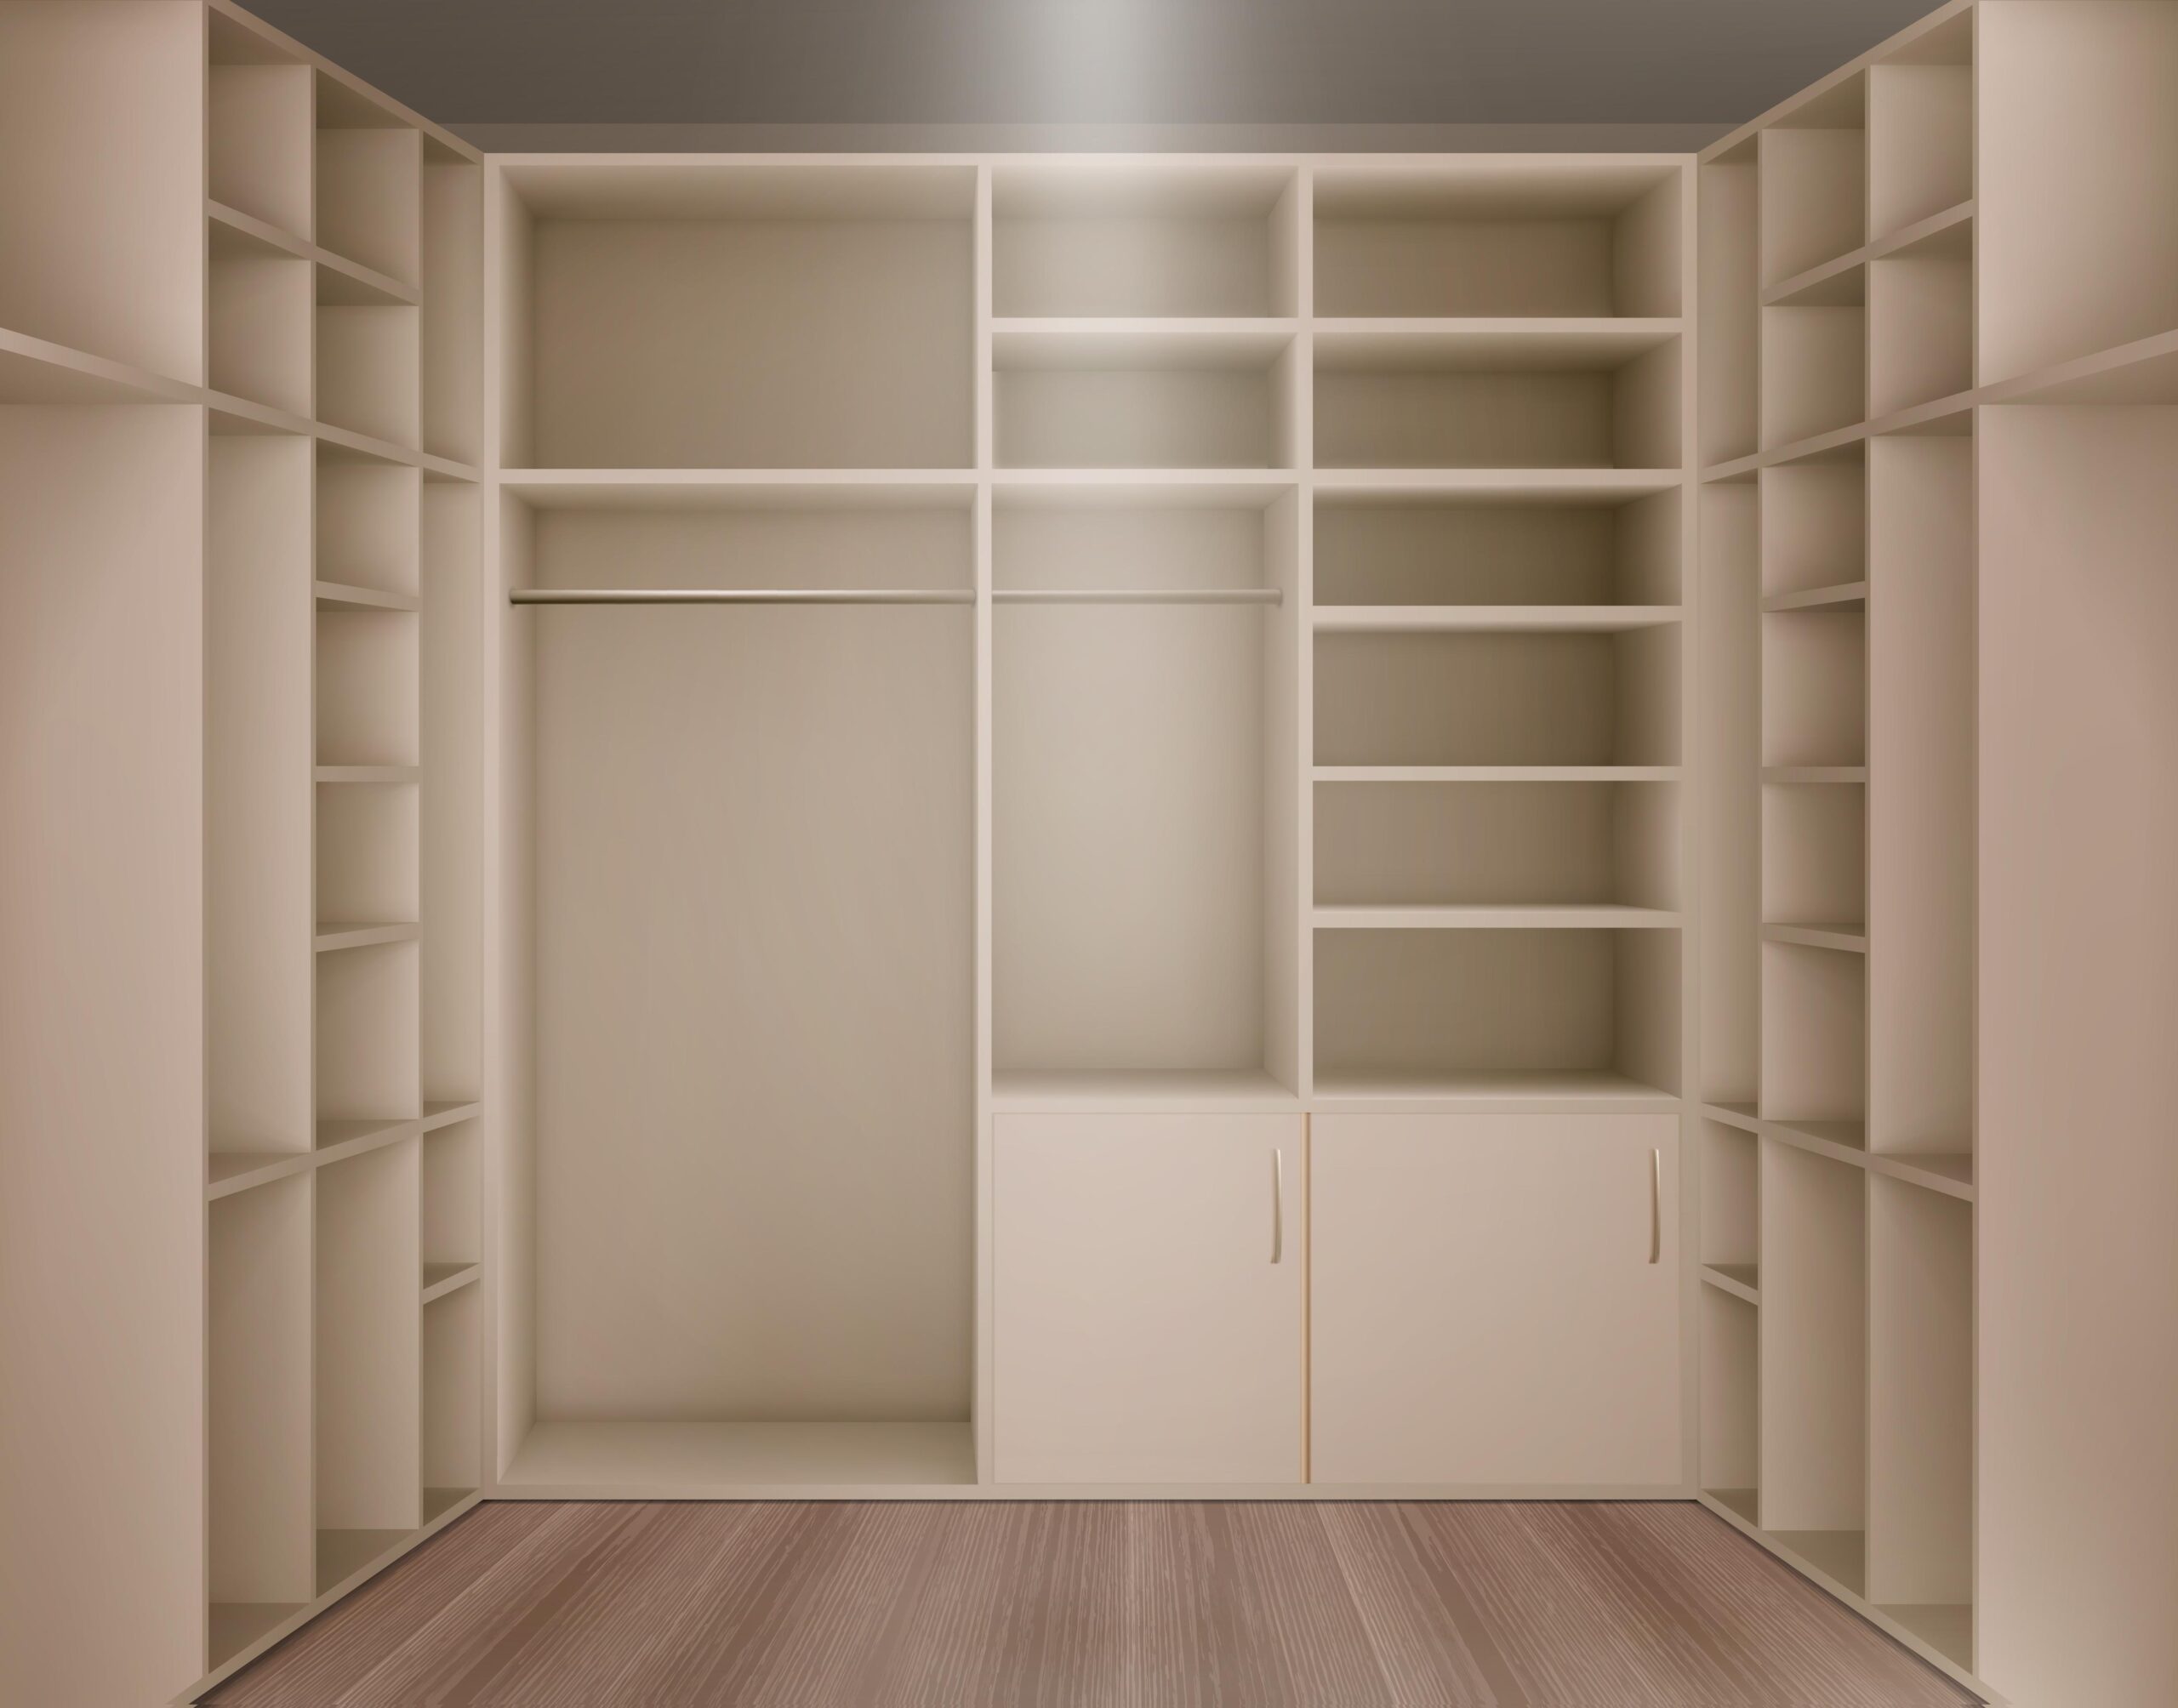
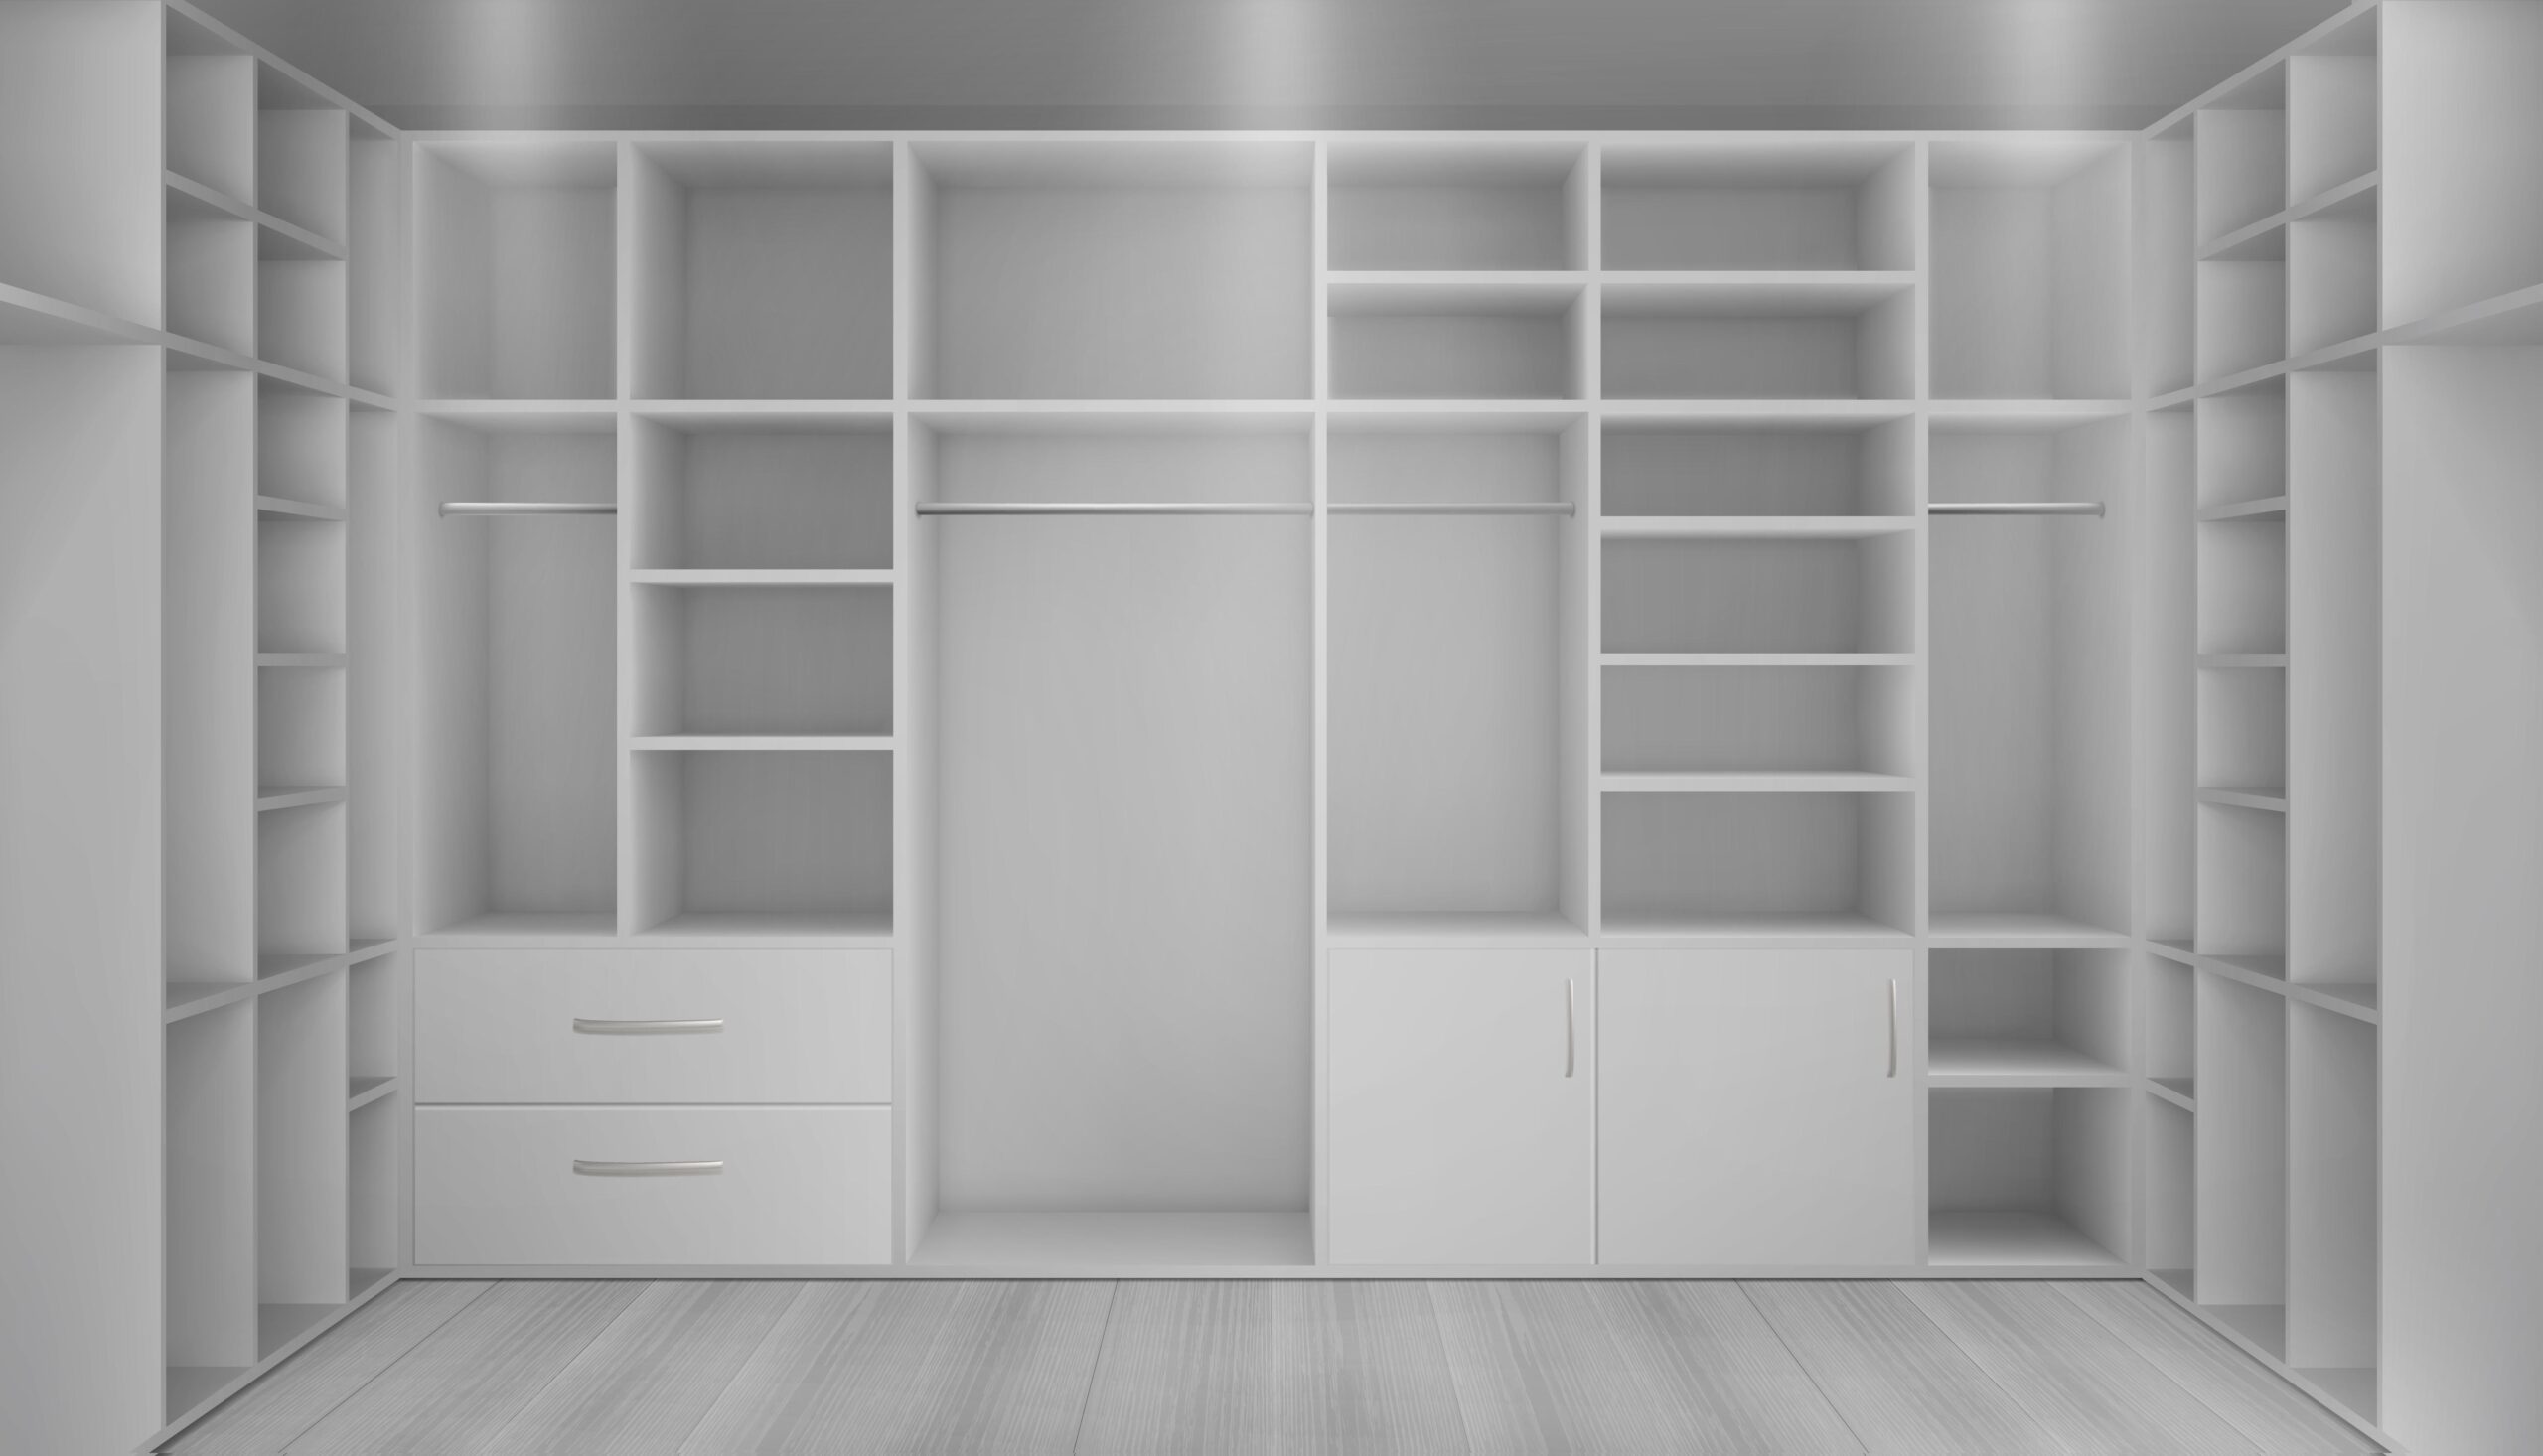
Pi Closets are expertly designed modular systems that combine functionality and aesthetics. These systems are built from various components that work together seamlessly to optimize storage. Each unit typically includes durable panels, adjustable shelving, hanging rods, and customizable partitions.
Panels provide structural integrity and often come in various finishes. Adjustable shelving allows for tailored configurations based on individual storage needs. Hanging rods accommodate clothing and longer garments, ensuring proper organization. Customizable partitions further enhance versatility by dividing sections for different item categories. Attention to these elements guarantees a well-organized, long-lasting closet.
Preparing Your Workspace for Assembly
A properly organized workspace is essential for efficient assembly of Pi Closets. Begin by selecting a clean, flat, well-lit surface with ample space to spread out all components. Ensure tools like screwdrivers, hammers, or wrenches required for assembly are easily accessible. Gather all closet parts and cross-check them with the instruction manual to verify completeness. Protect surfaces with drop cloths or mats to prevent scratches during the process. Arrange components systematically so they’re easy to locate when needed. Remove any clutter or distractions near the workspace. This setup fosters focus, reduces errors, and streamlines the entire assembly experience.
Essential Tools for Quick Assembly
To streamline the assembly of Pi Closets, having the right tools is indispensable. Proper equipment ensures safety, precision, and efficiency throughout the process. Key tools required include a drill for secure fastening, a versatile screwdriver set, and a sturdy tape measure for accurate measurements. A rubber mallet can assist with gentle adjustments while preventing damage to components. It is advisable to use clamps to stabilize larger sections during assembly.
Ensure protective gear such as gloves and safety glasses is on hand for added safety. Organizing tools nearby facilitates workflow and reduces interruptions during assembly activities.
Step-by-Step Assembly Instructions
- Unbox Components: Remove all pieces from the packaging and lay them out on a flat surface. Check the included checklist to ensure all components are present, such as panels, screws, and fasteners. Organize screws and tools for easy access.
- Assemble the Frame: Follow the provided diagram to connect the primary support beams and brackets. Use a screwdriver or the included wrench to tightly secure all frame joints at this stage.
- Install Panels: Attach side panels to the frame by lining up pre-drilled holes. Secure with screws, ensuring they are tightened evenly to avoid misalignment. Repeat for back and bottom panels.
- Add Adjustable Shelves: Position shelving brackets at the desired heights. Place the shelves onto the brackets and verify their stability by applying light pressure.
- Attach Doors or Covers: Fix the doors or sliding covers using the enclosed hinges or tracks. Test their motion to ensure smooth operation. Adjust hinges if necessary.
- Inspect and Finalize: Double-check all connections, ensuring everything is secure. Wipe down surfaces to remove any assembly dust or smudges.
Common Mistakes to Avoid During Assembly
- Skipping the Instructions Manual Overlooking the assembly guide can lead to improper component alignment and missing essential steps. Always refer to the manual at every stage.
- Using Incorrect Tools Mismatched tools, such as screwdrivers with improper sizes, can damage screws or result in loose fittings. Ensure tool compatibility before starting.
- Over-Tightening Screws Applying excessive force can crack wooden surfaces or strip screws, weakening connections.
- Neglecting Pre-Assembly Sorting Mixing up screws, panels, or accessories delays progress and increases errors. Separate and label components beforehand.
- Ignoring Weight Limits Misunderstanding weight tolerance risks structural collapse. Review weight specifications during setup.
- Failing to Assemble on a Flat Surface Uneven surfaces misalign parts, creating stability issues. Verify assembly takes place on a smooth, stable platform.
Customizing Your Pi Closet for Functional Impact
Customizing a Pi closet to enhance its functionality involves thoughtful planning and attention to detail. Different users may have unique storage needs, so tailoring the design ensures optimal usability and style.
Factors to Consider During Customization:
- Storage Needs: Identify the items you plan to store, such as clothing, accessories, or equipment, to determine appropriate shelving and compartment sizes.
- Space Utilization: Use vertical and horizontal space effectively with adjustable shelves or stackable components.
- Accessibility: Arrange commonly used items within easy reach while allocating higher or lower shelves for infrequently used articles.
- Durability: Select materials that can withstand wear, especially for heavier items, to maintain long-term use.
Strategic customization ensures a personalized closet setup with maximum utility.
Optimizing Space with Pi Closet Configurations
Strategic configurations play a significant role in maximizing the storage potential of Pi Closets. By utilizing adjustable shelving, homeowners can customize the layout to accommodate items of varying sizes. Vertical space can be optimized with tiered racks or hanging rods, allowing users to store clothing, accessories, or tools efficiently. Incorporating modular components provides flexibility, ensuring the setup adapts to changing needs.
Key techniques include dividing compartments for specific purposes and leveraging sliding panels for accessibility. Additionally, compact bins or baskets enhance organization. Thoughtful placement of mirrors or lighting can also make smaller closets feel more expansive, further elevating functional value without unnecessary clutter.
Maintaining Stability and Longevity of Your Pi Closet
Proper care and attention can ensure the stability and durability of a Pi Closet over time. Regularly check all joints, screws, and connectors for signs of wear or loosening. Tighten them as needed to prevent structural instability. Avoid overloading shelves or rods beyond their recommended weight capacity, as this could compromise the integrity of the closet.
Maintain a consistent indoor environment to prevent warping or damage from extreme humidity or temperature changes. Use soft, damp cloths to clean surfaces and avoid abrasive cleaning agents. Consider adding felt pads to the closet’s base if placed on hardwood floors, reducing friction during repositioning.
Tips for Integrating Pi Closets into Your Storage Solutions
- Assess Space Requirements: Measure the dimensions of the room or area to ensure Pi Closet structures fit seamlessly into existing layouts. Account for door swings, shelving heights, and clearance.
- Categorize Storage Needs: Determine specific items to be stored—such as clothing, shoes, accessories, or utility items—to customize compartments effectively.
- Pair with Complementary Furniture: Combine Pi Closets with modular furniture or accent pieces for a cohesive design, such as dressers, benches, or mirrors.
- Utilize Accessories: Incorporate drawers, baskets, and dividers from the Pi Closet system to optimize organization and enhance functionality.
- Focus on Accessibility: Strategic placement ensures high-traffic items remain easily reachable while lesser-used spaces accommodate seasonal or infrequent items.
Thoughtful integration enhances usability and visual appeal throughout the home.
Making Your Pi Closet Look Professional
To achieve a polished and professional appearance for your Pi closet, attention to detail is crucial. Start by organizing cables neatly. Use cable ties, adhesive clips, or Velcro straps to bundle and secure wires, keeping them untangled and out of view. Mount cable management solutions discreetly along the back or sides of the closet.
For improved aesthetics, consider labeling each component and cable. Waterproof labels or printed tags can simplify future troubleshooting and upgrades. Ensure all hardware, such as screws and brackets, is flush and securely tightened, avoiding dangling elements.
Incorporate thoughtful lighting. LED strips or small puck lights can illuminate the setup, highlighting the Pi components while ensuring easy visibility. Choose compact and efficient lighting options that complement the overall design. Use neutral or accent colors that don’t distract.
Lastly, clean all surfaces. Dust and polish doors, shelves, or enclosures to eliminate fingerprints and debris for a pristine finish.
Devon Lane

- Design Services (1)
- Fashion (1)
- Genel (20)
- Home & Garden (1)
- Home & Lifestyle (1)
- Home Improvement (15)
- Interior Design (1)
- Smart Storage Solutions for Small Apartments 01/26/2026
- Closet Organization Tips for a More Functional Home 01/19/2026
- Unlocking Style and Functionality: The Benefits of Modular Closets for Modern Homes 01/12/2026
- Maximizing Your Living Space: The Benefits of Modular Closet Systems 01/05/2026
- Closet on a Budget: Smart Storage Ideas for Montgomery County Homes 12/26/2025